
If you’ve been looking to upgrade your lawn, add definition to your landscaping, or give your yard a little extra curb appeal, Beuta PolyRock™ is the perfect solution. Designed for easy DIY installation, PolyRock™ lets you transform your outdoor space without digging, heavy equipment, or complicated tools.
Ready to refresh your outdoor space? We’ll show you how Beuta PolyRock™ makes it easy to upgrade your yard with clean, stylish landscape edging that anyone can install.
Installation Basics
Once you open your shipment, make sure to open the box from the side with the stakes to help prevent them from falling out of the sections. Remove the stakes and set them aside before laying out your PolyRock™ sections.
Before beginning installation, we recommend placing all sections in your desired layout first and installing in one direction. This helps ensure you have the correct amount for your project and allows you to visualize how the design will look in your space before securing everything into place.
Connecting and Disconnecting Blocks and Bricks
Once your pieces are laid out, it’s time to start connecting the sections. Simply align the male end with the female end and lock them together. Like a puzzle! No tools are required. The pieces slide into place smoothly and securely, making installation quick and effortless. To disconnect your sections, lift the block or brick with the female end and slide it apart.
Staking and Repositioning
Once all sections are secured in place, it’s time to add the stakes. Each section includes pre-drilled holes to make installation simple and precise. Using a hammer or mallet, place each stake into the hole and drive it firmly into the ground.
For unstaking and repositioning, use a hammer and your foot to gently loosen the stake, then pry it up from the ground and adjust it into the desired position.
Pro Tip: Because the stakes do not sit all the way at the bottom of the block and align with the brick height, we recommend placing a second stake on top of the first and hammering it down from above. This helps achieve a clean, flush finish.
Using Function Blocks
We offer products like Left Turn, Right Turn, Start, End, and Extender blocks. We'll explain how to use these blocks to achieve a clean and finished project. Function pieces are available for all of our models and colors of landscape edging, including Bricks, Blocks, and Block XL.
Start and End Blocks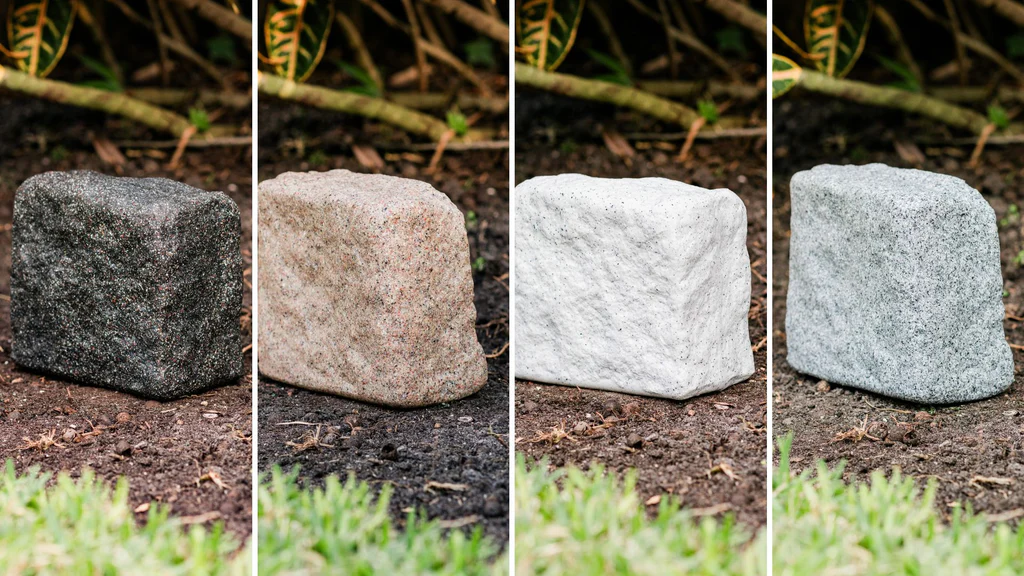
Start and End blocks are ideal for projects that do not loop or connect back onto themselves. Both are designed with a finished edge for a clean, polished look. A Start Block features a protruding “male end,” while an End Block includes a connecting “female end.” Simply place a Start Block at the beginning of your project and an End Block at the finish to complete the run with a seamless, professional appearance.
Extension Blocks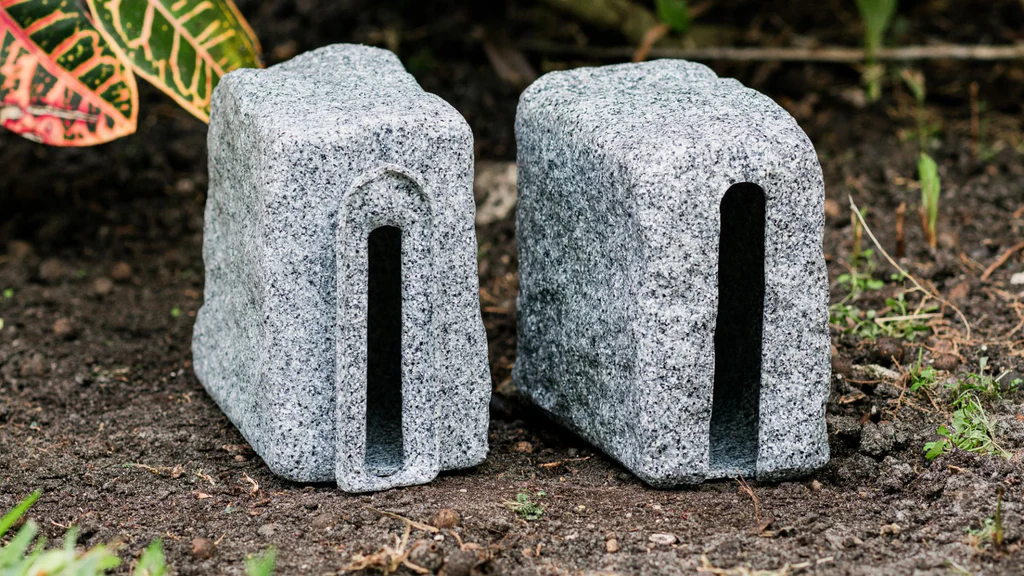
If your project requires additional length beyond our standard 4-foot sections, Extender Blocks are the perfect solution. Each Extender Block is 7 inches long and features a male end on one side and a female end on the other, allowing for easy connection between sections. Multiple Extender Blocks can be used together to create custom lengths as needed. For the best visual balance and stability, we recommend spacing them evenly throughout your project.
Right and Left Turn Blocks
For projects with 90-degree angles, Left and Right Turn blocks are used to create clean, precise corners. Unlike standard sections, these blocks feature a female connection on the side instead of the back. The Left Turn Block connects to a male end and forms a counterclockwise turn, while the Right Turn Block connects the same way but creates a clockwise turn.
Ready to Get Started?
Beuta PolyRock™ is available in five natural colors and three heights so you can find the perfect match for your yard. Whether you are edging a flower bed, lining a walkway, or building a raised garden bed, Beuta makes it easy to get a professional-looking result without the professional price tag.
Shop Beuta PolyRock™ edging at beuta.com and use the Project Builder to plan your layout before you order. Your yard transformation starts today.
Comments
0 comments
Please sign in to leave a comment.